Heating bills climbing but your home still feels cold? The culprit is often the walls themselves. Cavity wall insulation tackles the problem at its source – and the process is far simpler than most people expect.
To walk you through what’s involved, we’re sharing the experience of a homeowner in Aldershot who approached InstaGroup after struggling with draughty rooms and energy costs that didn’t seem to match how much she was spending on heating. Here’s exactly what happened, from first contact to finished installation.
Step 1: Recognising the problem
Properties built between the 1920s and 1990s typically feature cavity walls – two layers of brickwork with a gap running between them. When that gap is empty, or contains insulation that has broken down over time, heat moves straight through the wall and out of the home.
In this case, the property had previously been treated with cavity wall insulation, but the material had deteriorated and was no longer performing. The signs were hard to miss:
- Certain rooms, particularly the living room and bedrooms, never quite felt warm enough
- Cold patches on the internal walls
- The heating running more than it should have needed to
- Energy bills that kept rising despite no change in usage
These are classic signs that your cavity walls may need attention.
Step 2: Getting in touch and arranging a free survey
The first step was a simple one – getting in touch with InstaGroup to book a free property assessment. No commitment, no obligation. The purpose at this stage is purely to establish whether the property is a good candidate for cavity wall insulation.
Every home is different. The condition of the brickwork, the width of the cavity, and whether any previous insulation is present all influence what approach is needed. A thorough survey upfront means there are no surprises further down the line.
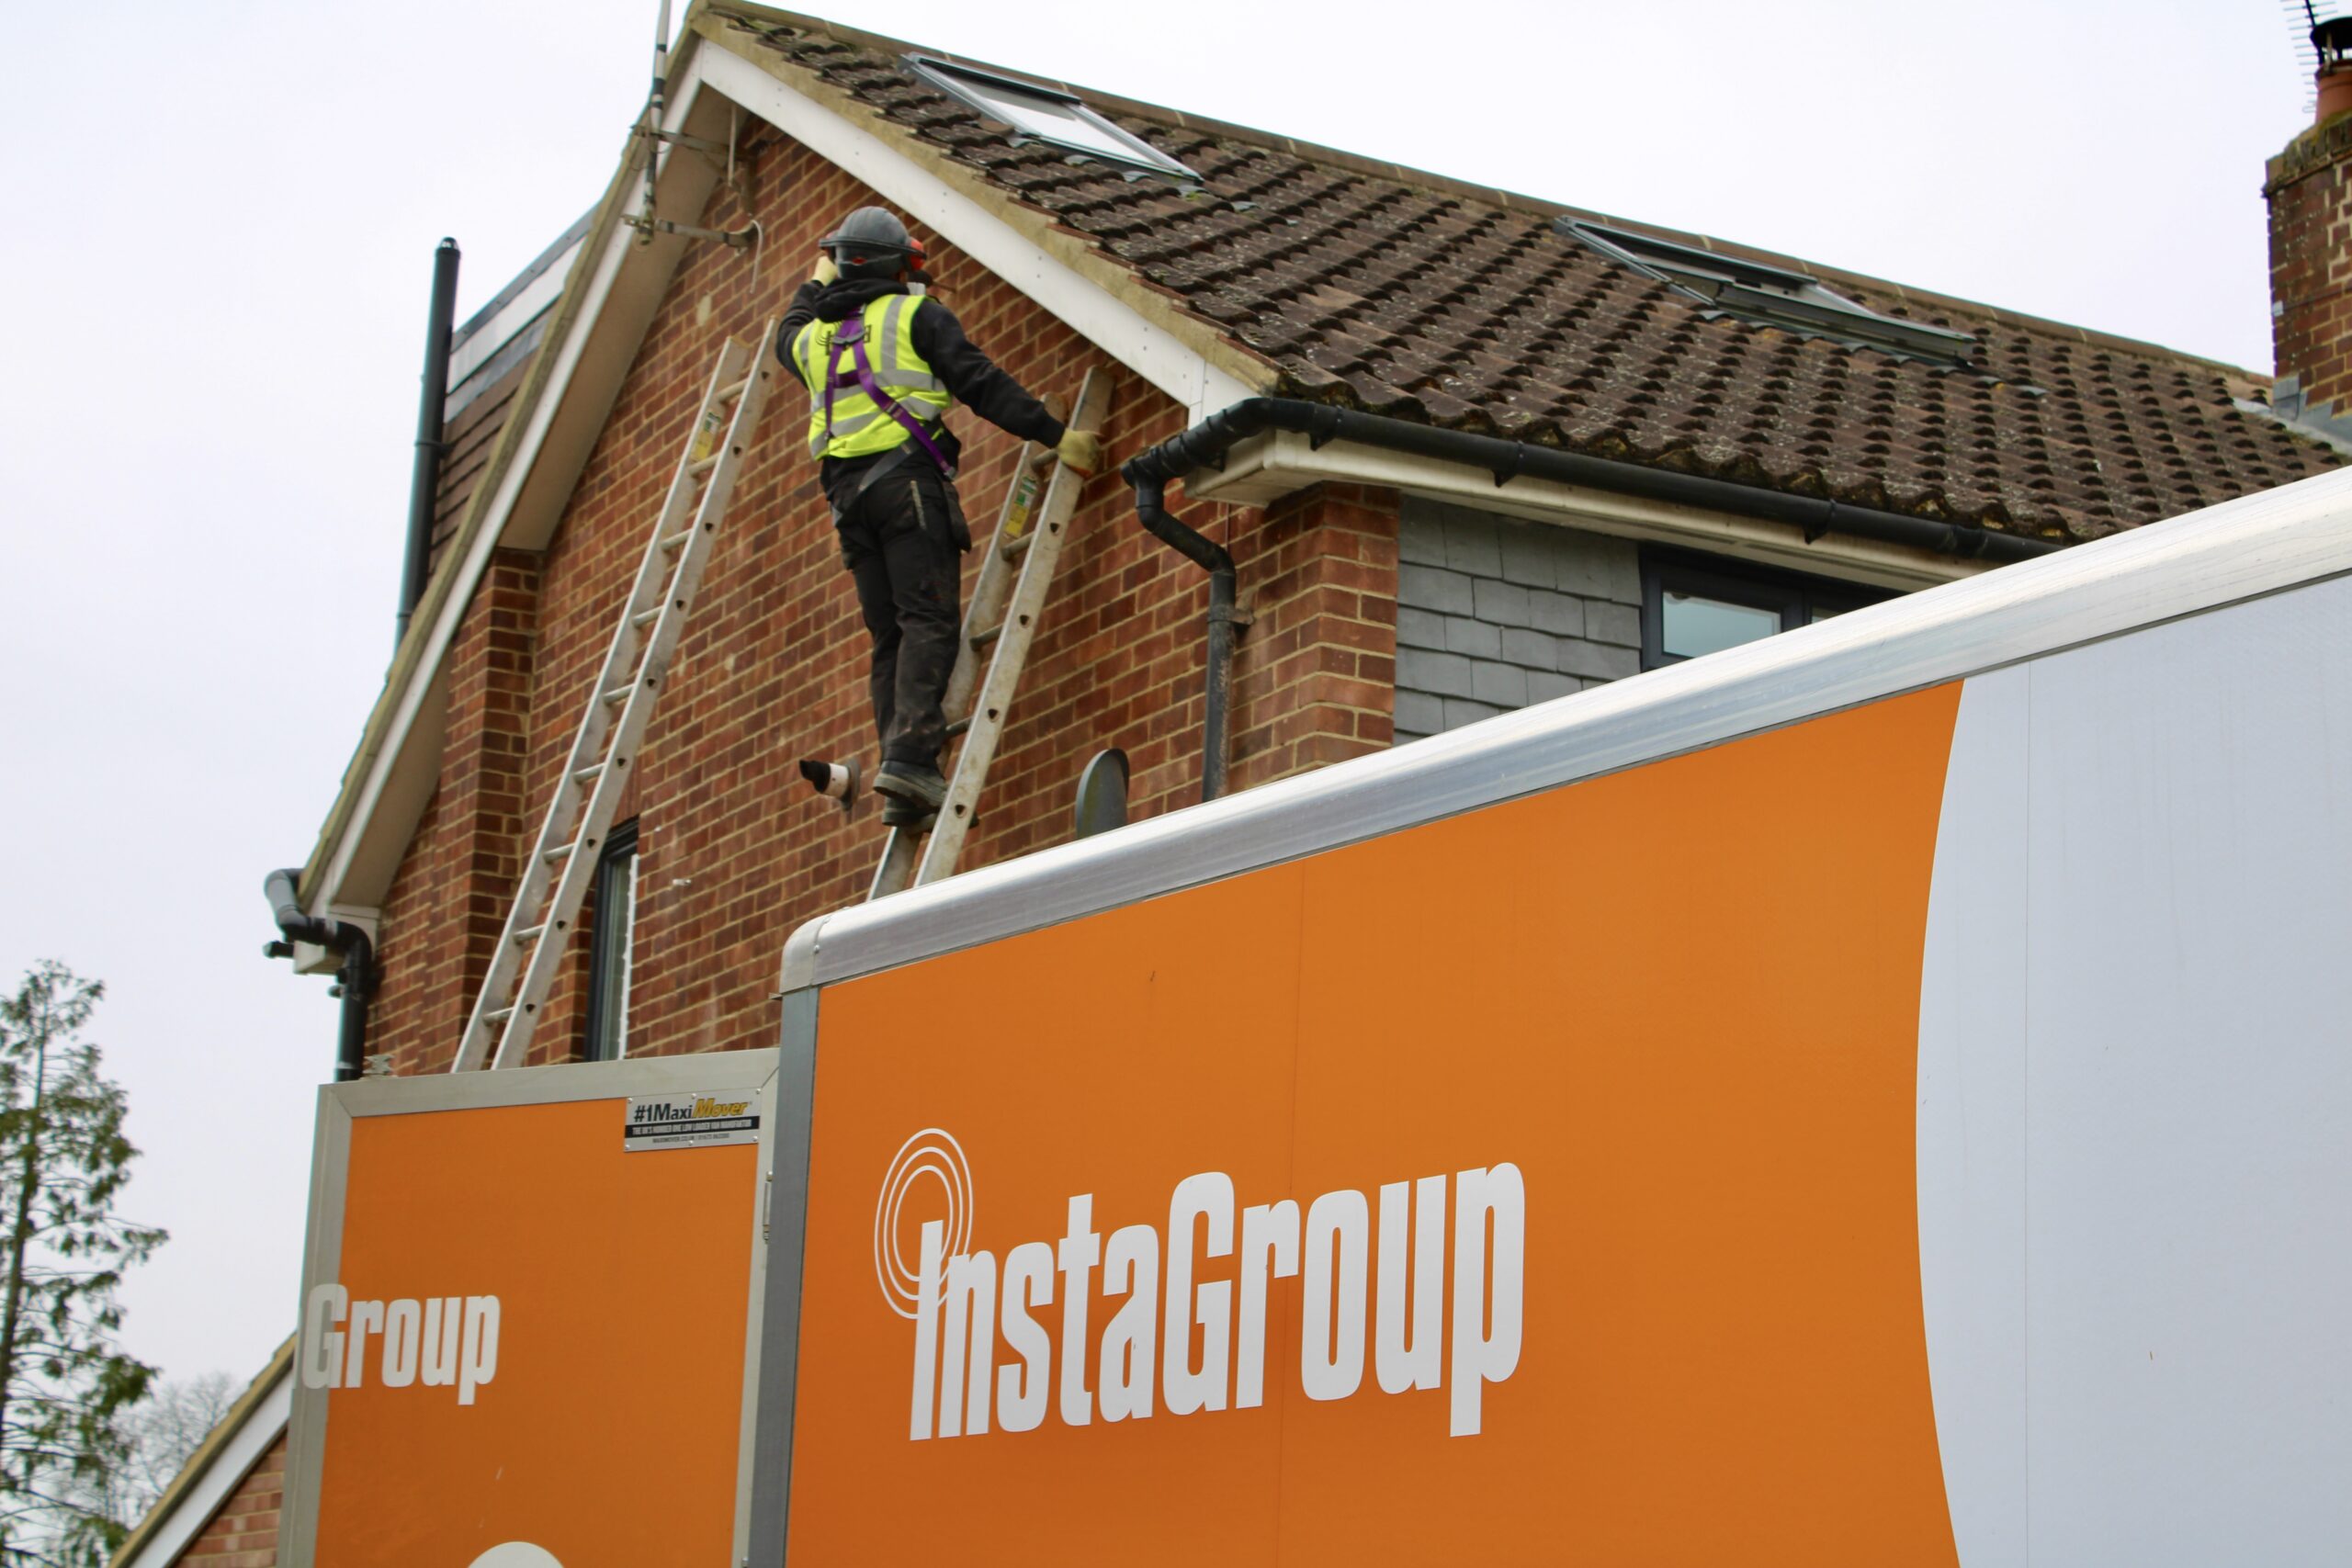
Step 3: The property survey
Our specialists visited the property to carry out a full inspection of the external walls. The outcome confirmed that the home was suitable for new cavity wall insulation – but also that the existing failed material would need to come out first before anything new could be injected. From this survey, we were able to provide the resident with a quote for the works, and book in the install.
Step 4: Extraction (where needed)
For many properties, the installation can go ahead straight away. However, where the survey identifies existing material inside the cavity that needs to come out first – as was the case here – an initial visit is arranged to clear the space before anything new goes in.
This isn’t the case for every home, and your surveyor will confirm during the assessment whether this step applies to you. Where it is required, the work is carried out with minimal disruption and day-to-day life in the household can continue as normal throughout.
Step 5: Installing the new insulation
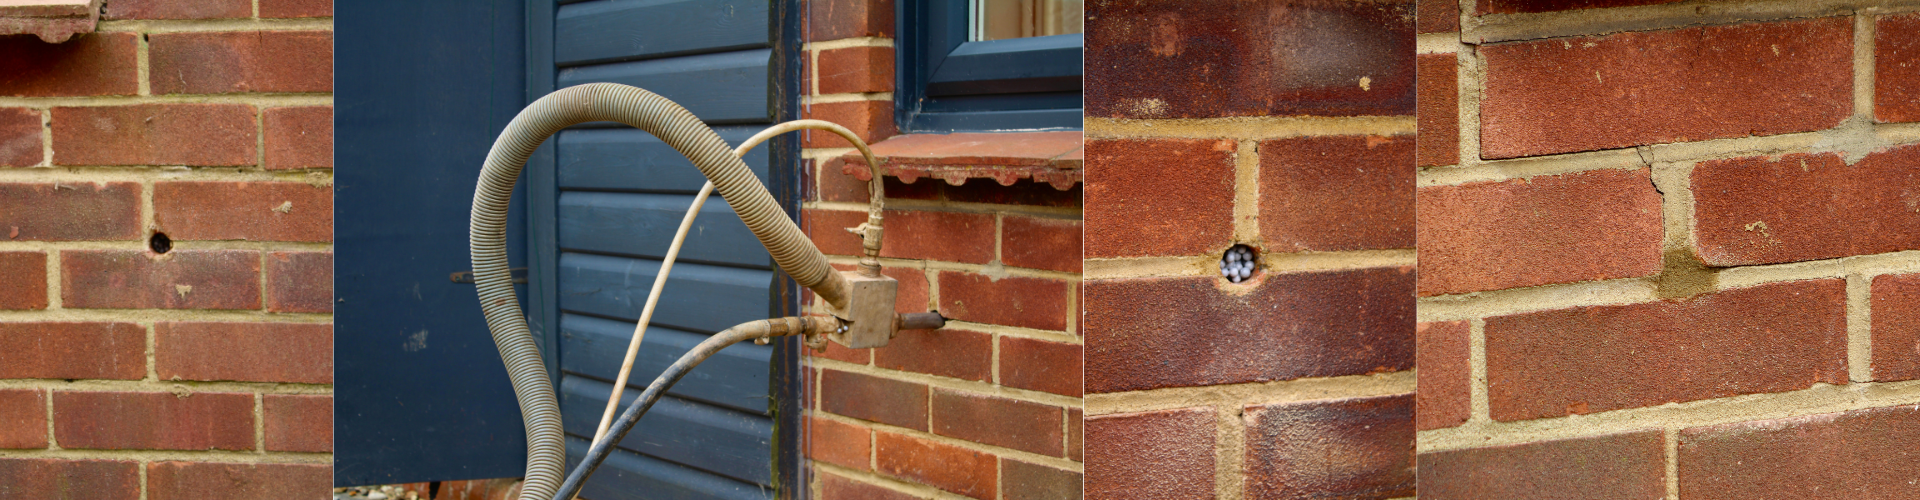
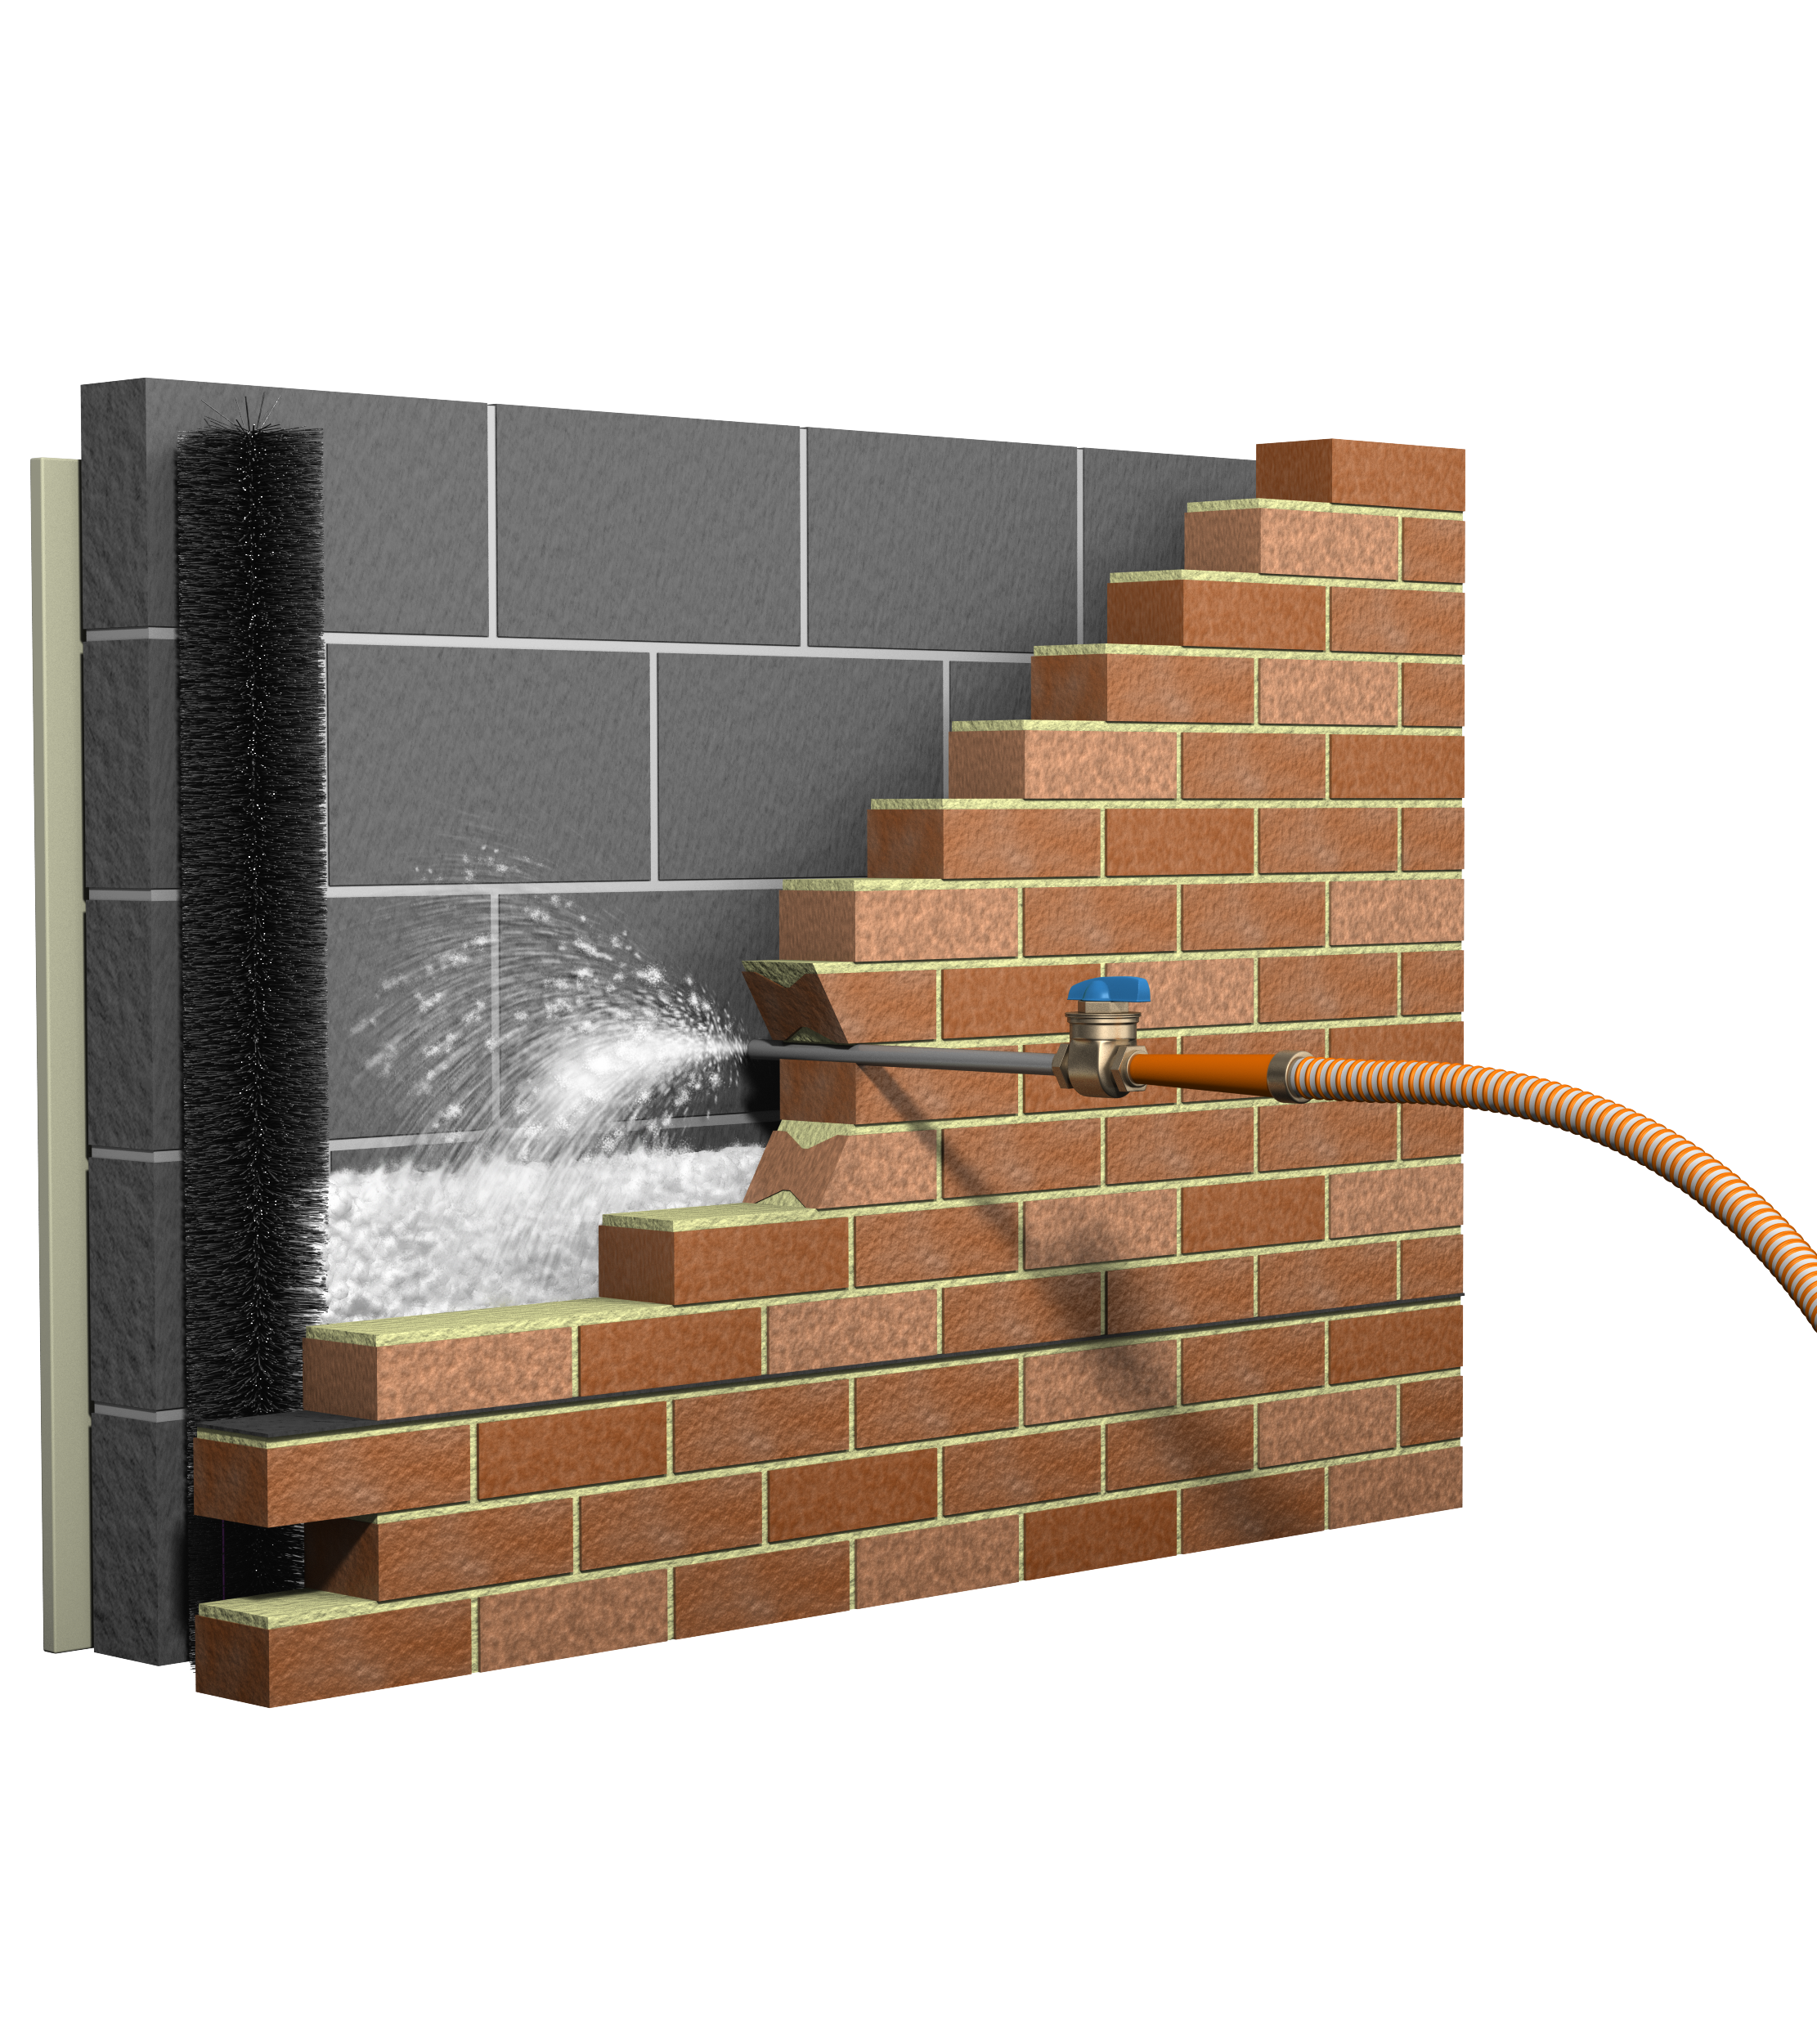
For properties going straight to installation, or once any preparatory work is complete, this is where the transformation happens. Using small holes drilled into the external brickwork, our team injects high-performance insulation bead directly into the wall cavities until they are fully filled. The bead creates a continuous thermal layer across the wall, significantly cutting the amount of heat that can pass through in either direction.
With the installation complete, every drilled hole is carefully filled and colour-matched to the surrounding brickwork – leaving the exterior of the property looking exactly as it did before.
Step 6: Warmer in winter, cooler in summer
One thing that often surprises homeowners is that cavity wall insulation doesn’t just help in the colder months – it works in both directions.
In winter, the insulation layer holds warmth inside the home, reducing how hard the heating system has to work to maintain a comfortable temperature. In summer, the same barrier slows down the transfer of heat from outside, helping rooms stay cooler on warm days without the need for fans or air conditioning.
For anyone who finds their home gets uncomfortably warm during summer heatwaves as well as cold in winter, this is worth factoring into the decision.
Step 7: The results
The difference was felt straight away. Rooms that had previously struggled to hold heat were noticeably warmer, and the heating no longer needed to run as frequently to keep the home comfortable. Over time, that translates into a meaningful reduction in energy use and lower bills.
The key improvements reported were:
- A consistently warmer and more comfortable living environment
- Reduced heat loss through the external walls
- Less reliance on central heating to maintain temperature
- Better overall energy efficiency throughout the home
The team was professional, friendly and took the time to explain what they were doing at each stage. Our home is noticeably warmer now, and we’re already looking forward to seeing the difference on our energy bills.
Could cavity wall insulation be right for your home?
 If your home was built between the 1920s and 1990s and you’re dealing with cold rooms or high heating costs, it’s well worth finding out whether your walls could be part of the solution. And if you’re not sure where to start, that’s exactly what our free survey is for.
Not every property will be suitable for cavity wall insulation, and that’s fine – our team will always look at the bigger picture. If CWI isn’t the right fit for your home, we can assess whether external wall insulation or loft insulation could achieve the same result. Our goal is to find the best solution for your home, whatever that looks like.
Get in touch with the InstaGroup team to arrange your free property assessment.